Do you use a lightbox in your classroom? Well, I recently found the mini version at Michael’s and I’m in love! The size is just perfect. I recently shared some previews of my designs on IG and I got lots of questions that I wanted to address 🙂 I’m sharing all my tips below. Some Amazon affiliate links are provided for your convenience. By using these links, I will receive a small commission for referring you to these products.
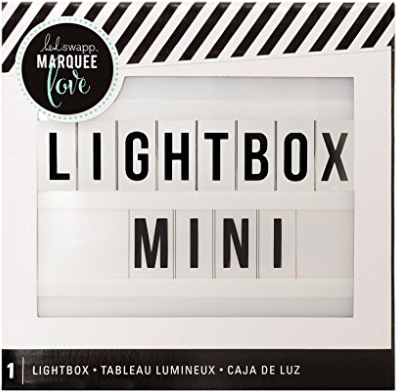
This is the lightbox. You can find it at your local Michael’s or Amazon. It is much smaller than the standard sized one. If you found that the standard size was a little too large, this one is probably perfect for your needs. It measures about 6.5 inches by 6.5 inches.

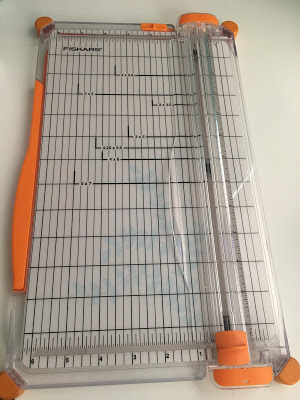
You can use scissors to cut them out. My favorite thing to use is this paper trimmer.
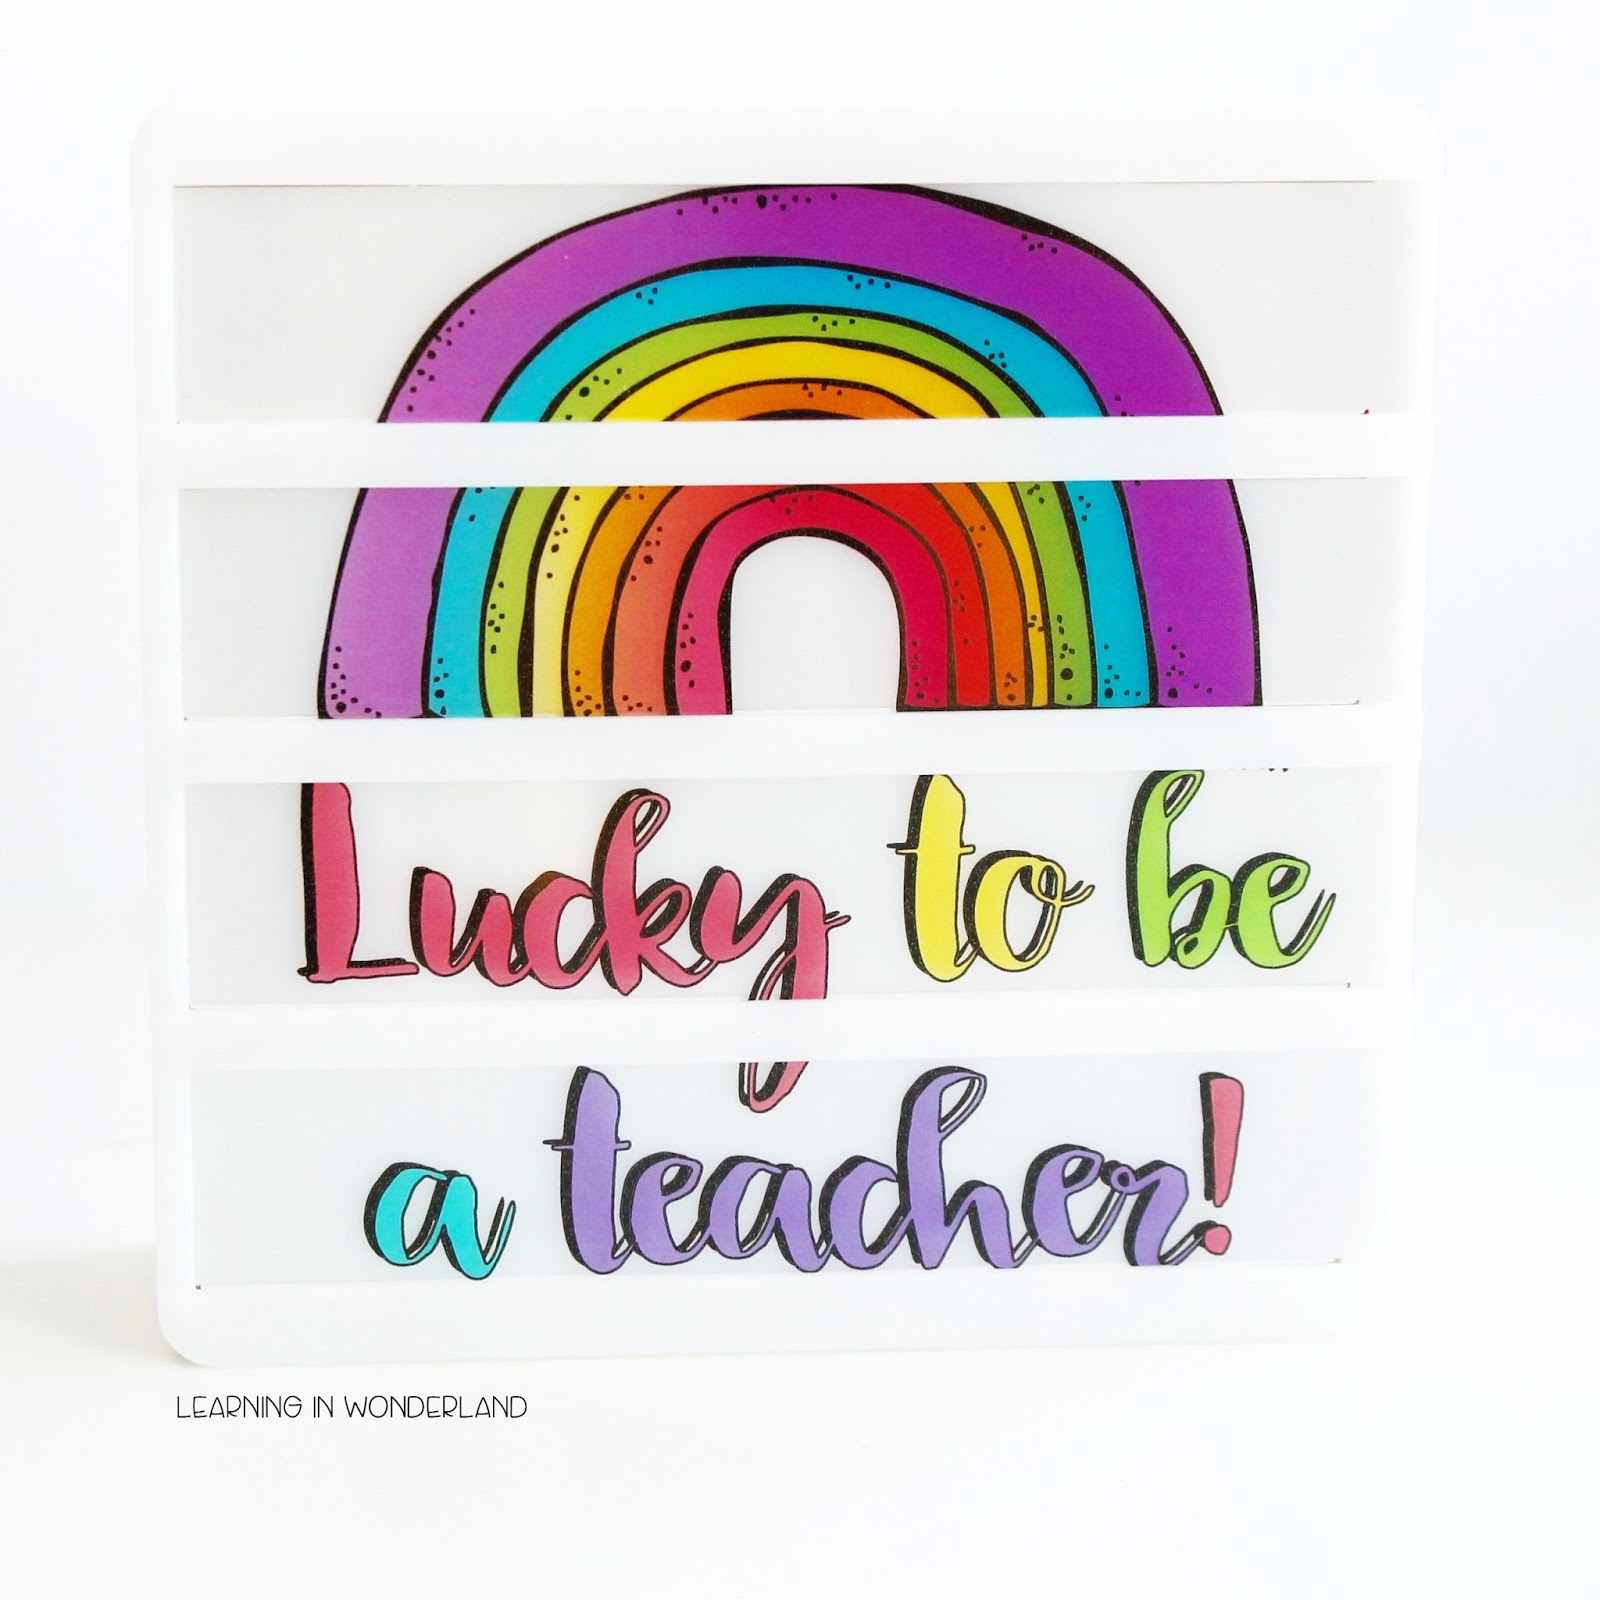
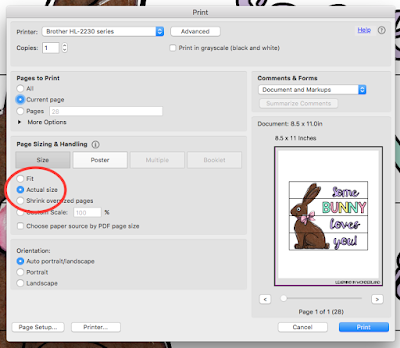
Now let’s talk about printing. The most important thing to know is that you must print it in actual size. These slides were measured to fit perfectly in the lightbox. If your printer is shrinking the images, the slides won’t fit. When you print your PDF pages, you’ll see this:
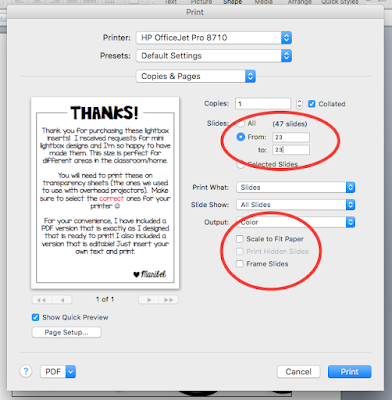
When printing from PowerPoint, select the image you want to print and check to make sure that Scale to Fit Paper and Frame Slides are NOT checked on. Those two options will shrink your pages.
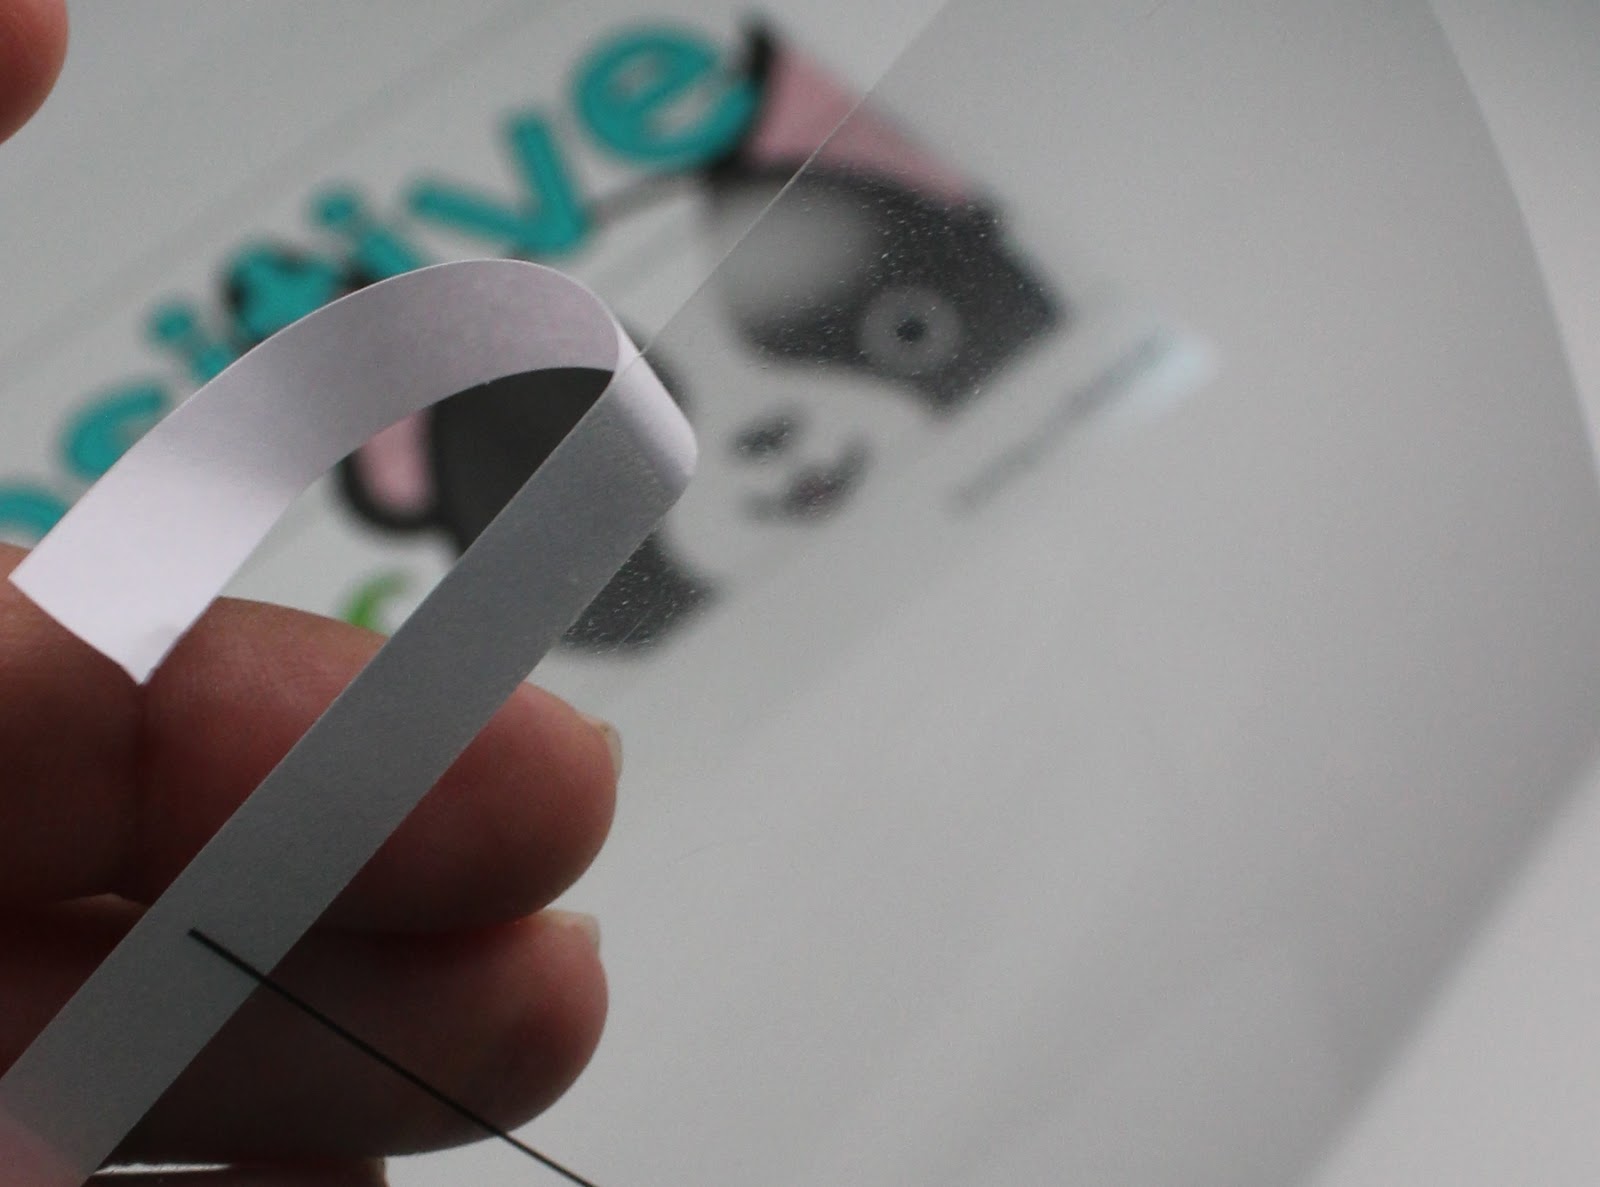
1. The colors are slightly brighter.
2. The light shines better behind this material.
3. The slides will last forever!
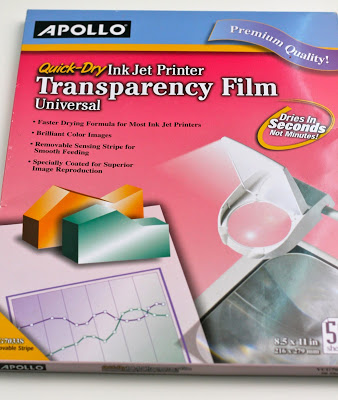
When you get your transparencies, make sure to get the kind that are compatible with your printer. When I first printed, I used the wrong kind and the ink never dried.
When I was shopping for transparencies I found that they are more expensive then they were 10 years ago. Make sure to shop around for them. Office supply stores had them but they were very pricey. I found a good deal on Amazon! These are the ones I picked up: