I was talking with some teacher friends recently and we were discussing how online collaboration is such benefit in teaching now a days. When I began teaching there weren’t many teacher bloggers out there and TpT wasn’t heard of yet so you only had a small group to draw ideas from. Now we have the world of teaching at our fingertips and that is incredible. I love how #2getherwearebetter encourages that world wide collaboration amongst educators. Angie and Ashley, you rule!
Now onto this months topic: Bulletin Boards

I’m going to be talking bulletin board tips, tricks, and ideas. Tips and tricks are first, and you’ll find some bulletin board ideas at the bottom of the post.
Tip #1 My first tip is to try to keep background colors consistent. I’ve had a room where every single bulletin board was a different color. It was kind of distracting. I now try to keep it to two colors.
Tip #2
Use the same boarder color/style for every bulletin board. I purchase the cheap stuff from craft stores with 50% off coupons. They are so much less expensive and don’t district your eye from the bulletin board. You can layer them beautifully if you like adding lots of color.
Tip#3
Use pins to hang up bulletin board paper before stapling it down. I learned this one from a veteran teacher when I was brand new. I’ll admit I didn’t do that this year and I’m regretting it big time! Here’s what you do and why you should try it.
Hang up your bulletin board paper one day before you actually want to finish up that board. Instead of stapling in place, use push pins to hold the paper down (you’ll need a generous amount of push pins). Leave it this way for at least one day. The next day you will see that the paper will be sagging and bubbling up off the walls. Now you can stretch the paper out again and staple it down. It won’t sag or puff up anymore because it’s already all stretched out. The veteran teacher I learned this from always has the smoothest looking walls every single year. I spied on her to find out her secret and that is what I found out 😀
Do as I say and not as I do because this year I thought, “ah, I’ll skip that step” and guess what? I have puffy bulletin boards 🙁 Now I’ll either have to deal with it or have to fix them during the school year.
Tip#4
Push pins to the rescue again! This same mentor teacher always uses push pins to hold down what she wants to hang up before stapling. I never skip this step. It’s so easy to reposition things when they are just pinned vs. when they have already been stapled.
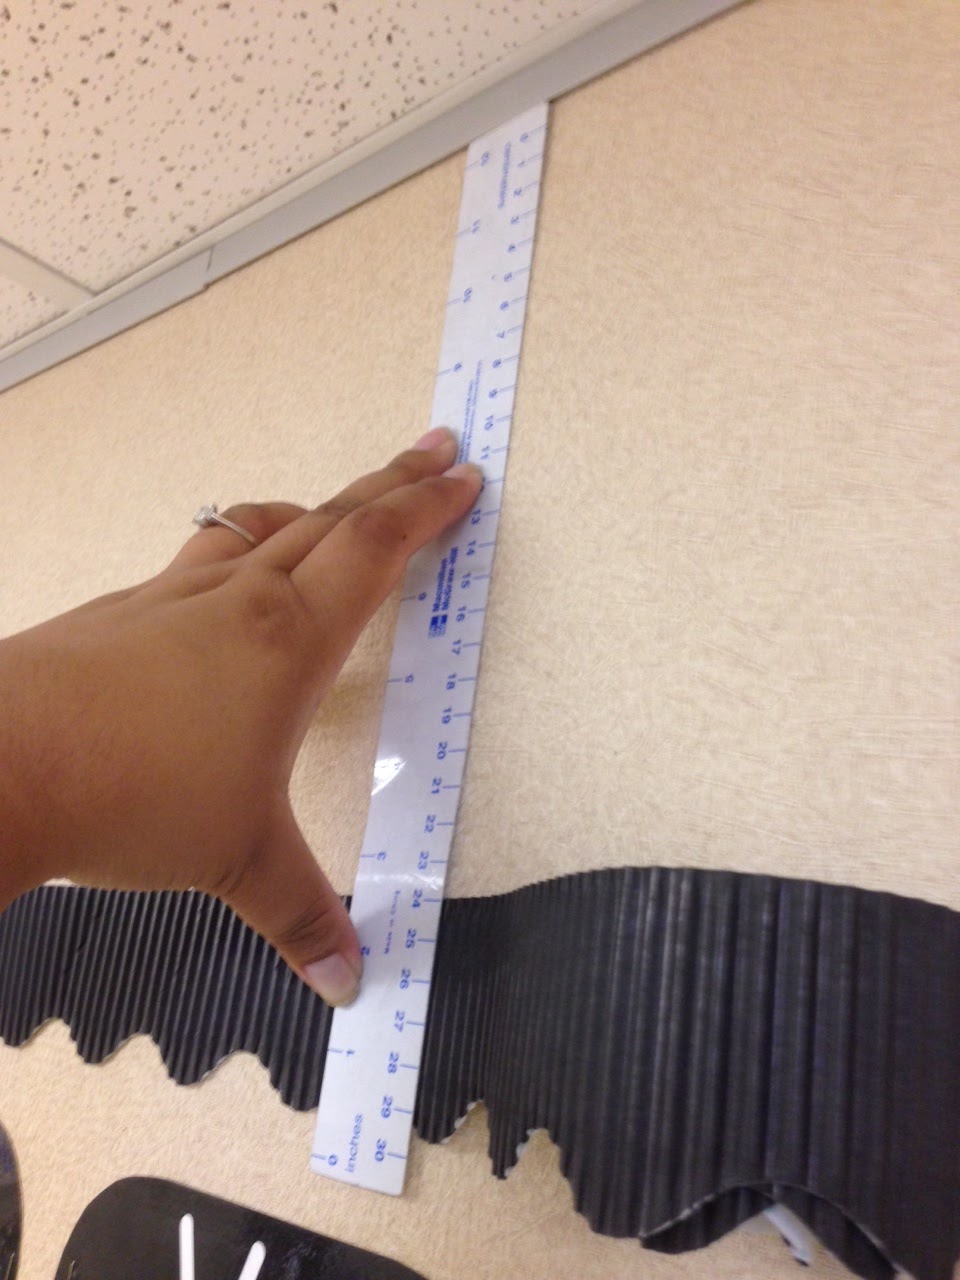
Tip#5
Use a ruler to to keep things at similar distances. I also like to use a level but sometimes a ruler makes the job go so fast! I hung up my alphabet line and lots of borders this way.
Onto some ideas:
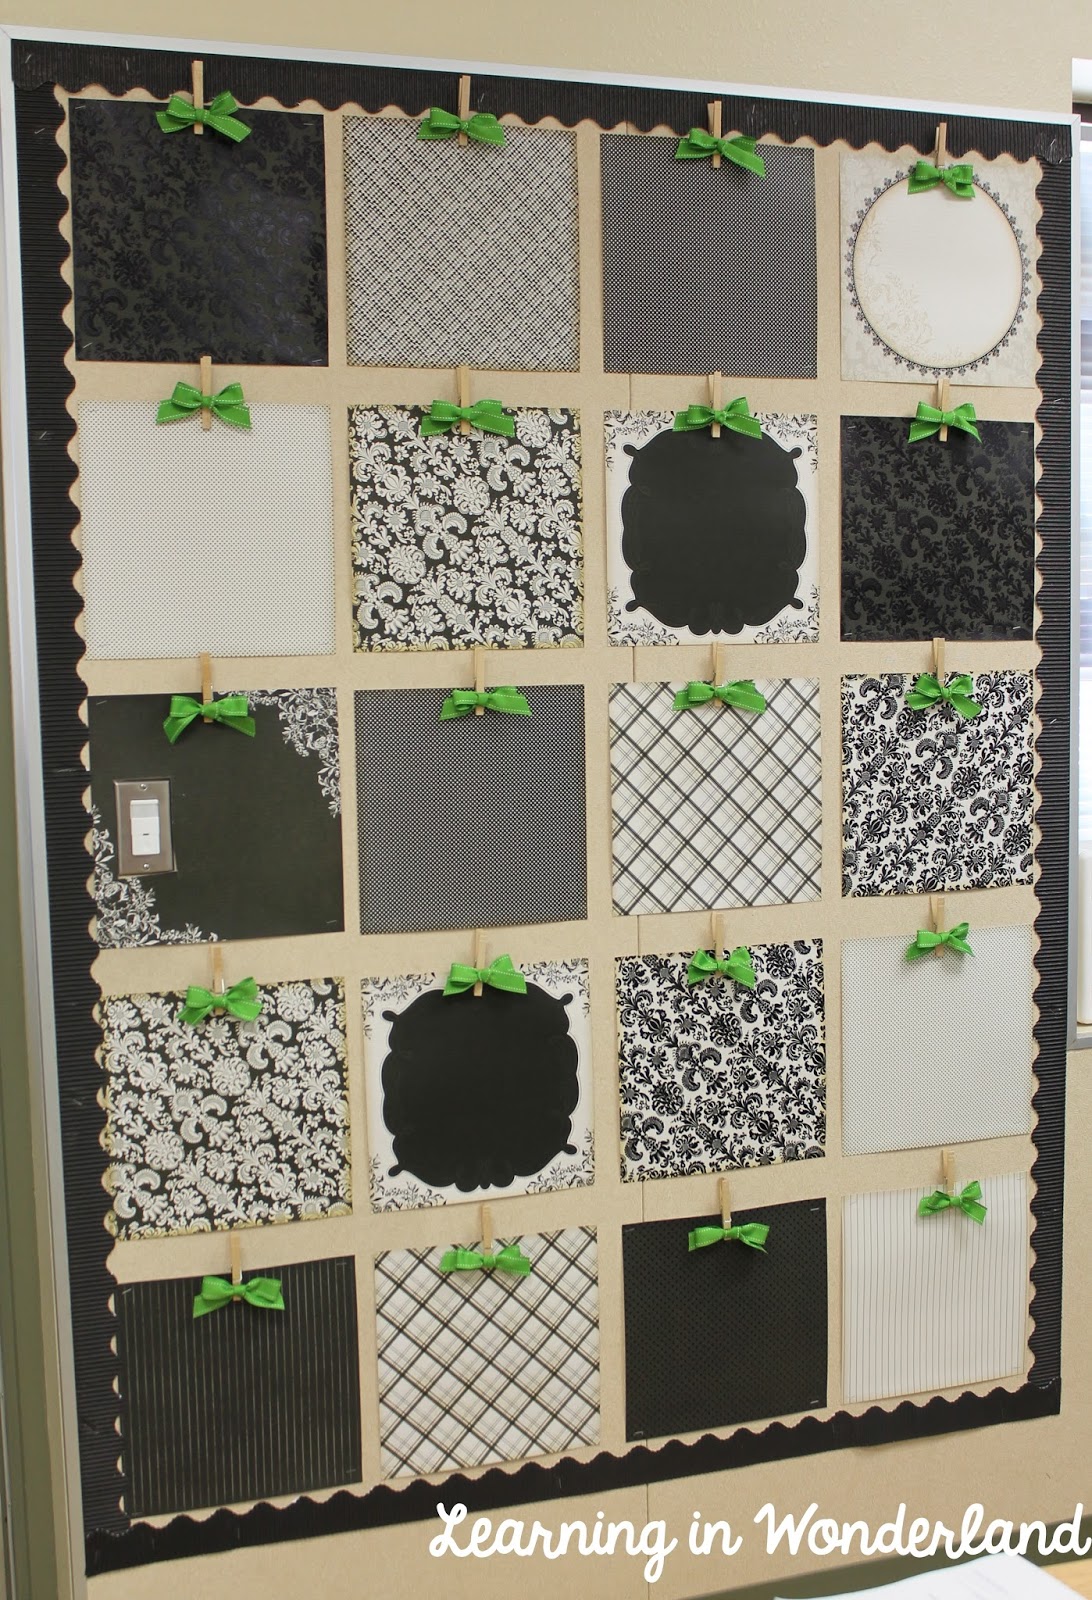
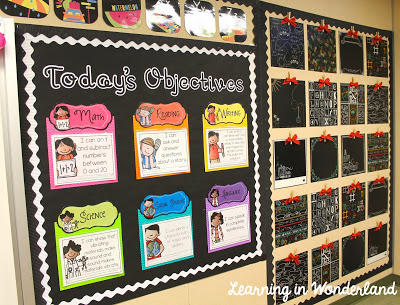
Idea 1#
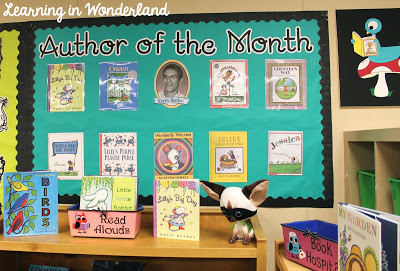
I love the look of scrapbook paper in the classroom. The scrapbook paper makes the set up look special and different. I added clothespins to hold up student work and a bow for a pop of color. The best thing about this board is that it looks good even when nothing is on display.

Idea#2
Create titles for your bulletin boards. If you have an electronic die cutter (i.e. Cricut or Silhouette) use our own fonts to create titles. Don’t have those options? Head over to KG Fonts and download some free fonts. Just print them out and hand cut! They will give your bulletin boards some flair!
Idea#3
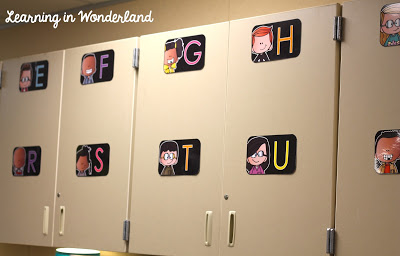
Use cabinets to your advantage! I have a whole wall of cabinetry. It’s wonderful having that much storage, but it eats up a lot of my wall space. I use my cabinets as my word wall! Gives me plenty of space to display my words and adds interest to a plain space 🙂
Do you have some tips or tricks to share with us? Please link up below and tell us all about them!